(No Eclipse Subversion plug-in (Subversive),
No Subversion (svn) from the command line).
If you are downloading the source from a major Ptolemy release, and
don't want to update regularly, or you do not have network
access, then use this choice.
For other ways to set up Eclipse and Ptolemy II, see
the Setting up Eclipse to manage
your Ptolemy II development Environment page.
- Download a ptII source tree from
https://ptolemy.berkeley.edu/ptolemyII/ptIIlatest
The Windows installer include the source, or you may
install a separate source-only download.
- Set up the Eclipse ptII project .classpath for Ptolemy II
- If Eclipse is not running, start up Eclipse
- In Eclipse, do
File | New | Project.
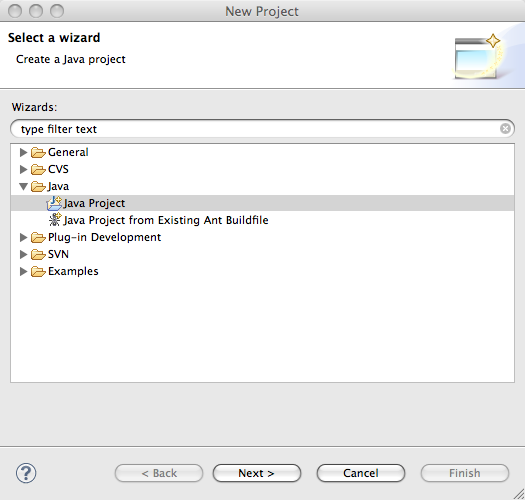
- In the "New Project" window, select "Java" > "Java project", Click Next.
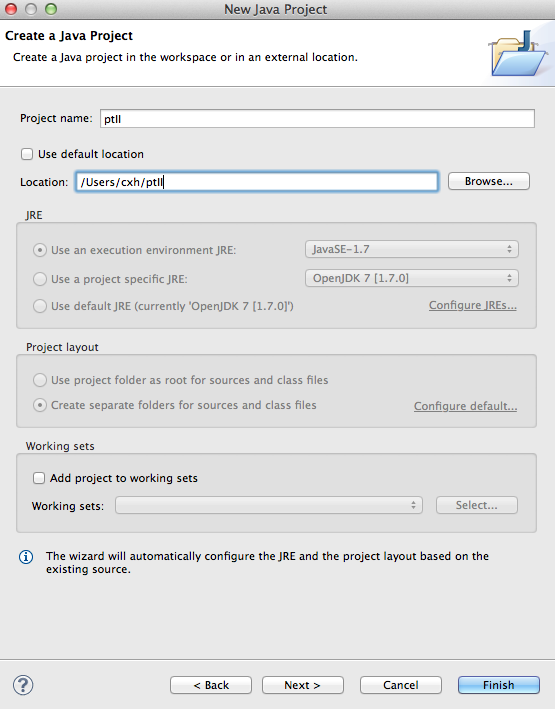
- In the "New Java Project" window:
In "Project Name", enter any project name, ptII
is a common choice.
Uncheck "Use default location" and browse to the location of
the source tree.
For example, browse to /Applications/Ptolemy/ptII8.1.devel
Press "Next".
Below is the New Java Project window:
Warning: If the "Setting Build Paths" window comes up with a message
"The output folder has changed. Do you want to remove all generated resources
from the old location ptII/bin", then the problem is that the
.classpath file was not found. It is best if you exit
Eclipse, create the .classpath file and redo the above steps.
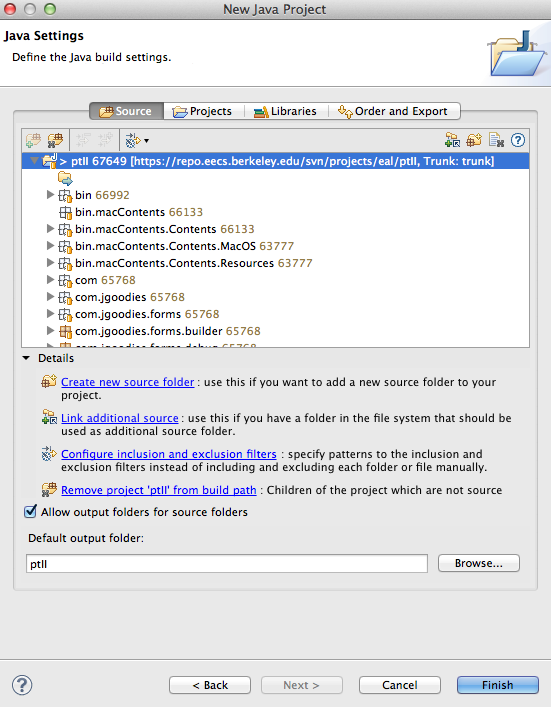
- In the "New Java Project" window, select
"Allow output folders for source folder", then click "Finish"
Below is the second New Java Project window:
- When asked if you want to shift to the Java perspective, click on Yes.
If you get lots of errors here, don't worry, we solve them in the next step.
- The next step is to Set up the Eclipse ptII project .classpath for Ptolemy II.